Hi everyone! I know it has been a long time since I posted anything new. but I am finally back! This new DIY is inspired by a bracelet I saw at a store. It
looked fairly easy to make so I decide to make my own instead of buying it. That’s
a new thing I like to do, I go into a store and if I see a piece of jewelry I
like and if I think I can make it, I don’t buy it, I try to make my own. Now I shall share with you how to make your
own fringe end bracelet, so let’s get started:
Martials:
- Few beads (all the same color)
- Two different beads (could be different in color or size or material)
- Spacer’s beads
- One jump ring
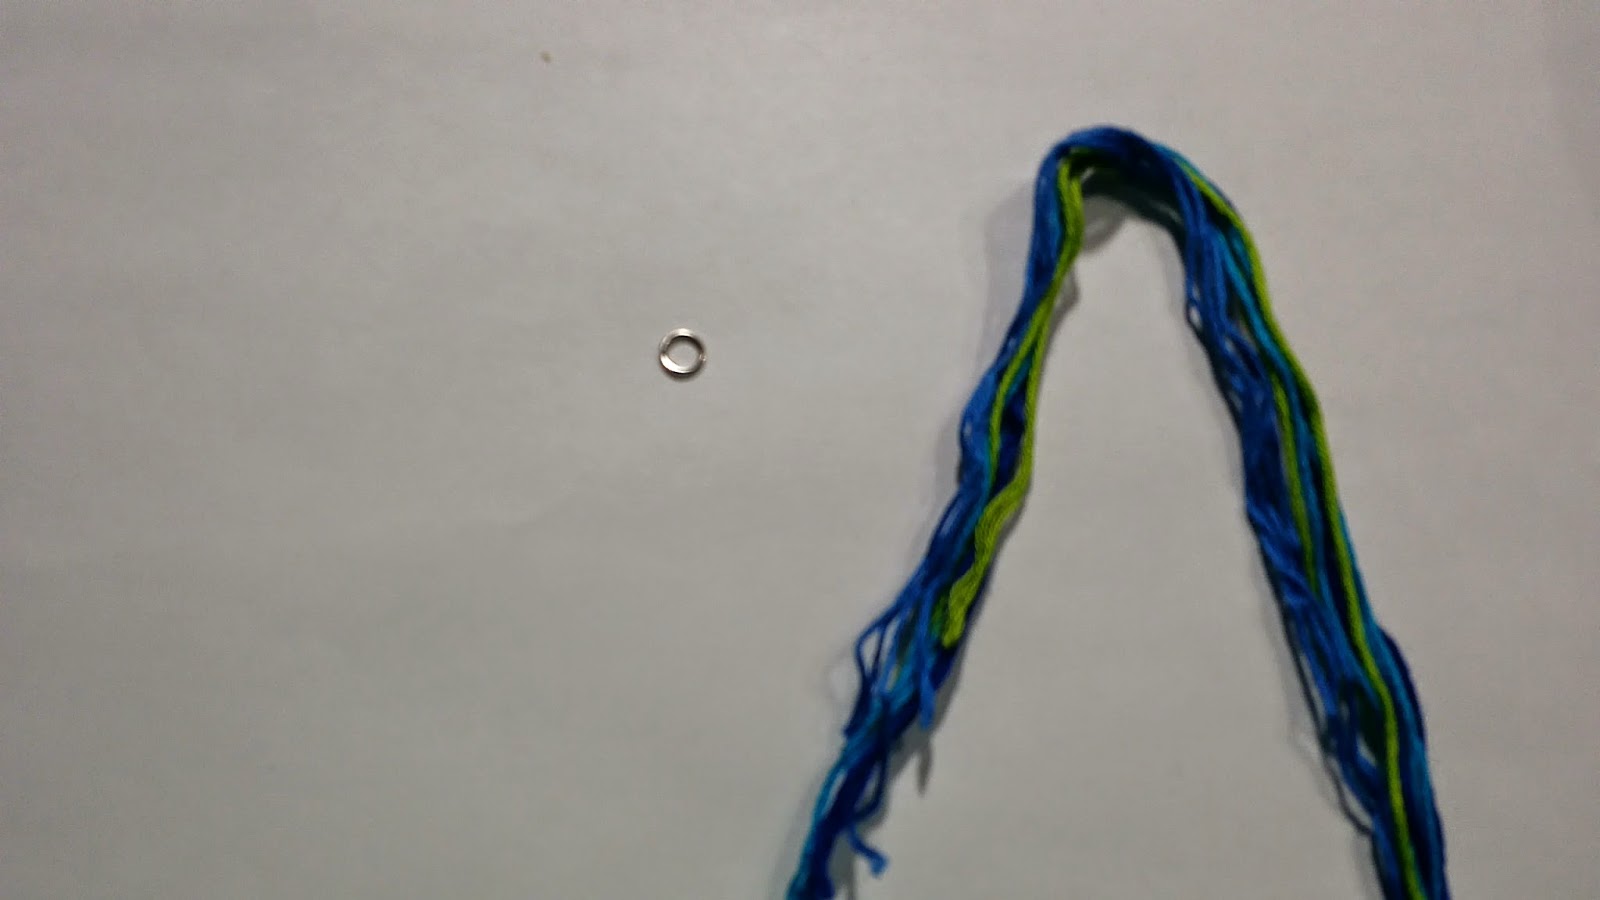
- Embroidery Floss or thread (colors that are the same or match the color of the beads you are using)
- Beading/elastic thread
Step 1- Thread the beads in the elastic thread. First add
a bead and then a spacer bead, repeat the same process until you have a good
length of the bracelet beaded. Then cut the elastic thread but make sure to
leave enough string so you can add beads and tie it. Once you reach the very ends of the bracelets
add the different beads at each end of the bracelet.* Make sure your bracelet
is cut to your desired wrist length. (Average bracelet wrist length is 7 – 7 ½)
Step 2- Cut a few pieces of thread about 8’’ long or longer, enough pieces to have a nice bunch. This will be used to make a fringe.
Step 3- Then use something to hold it down. Using another piece of
thread, tie it on top. Then wrap one side of the thread around the
bunch and tie it. Now just cut the ends to adjust the length you want it to be.
 |
| 1 |
Step 4- Add your fringe jump ring to one end of the
bracelet, then tie the bracelet.
There you have it, a super easy to make fringe bracelet. This is a great summer time bracelet.


No comments:
Post a Comment