Pages

Wednesday, January 28, 2015

Bracelet Gallery Part 3


Hey everyone!! I know I have been absent for a long time but it has been crazy for the pass months. I got new job and it has been keeping me busy. During that time I managed to get some free time to make a few pieces of jewelry and this is what I have made so far:

1

2

3

4

5

6

7

8

9

10

11

12

13

14

15

16

17

18

19

20

21

22

23

24

25

26

27

28

29

30

31

32

33

34

35

36
I hope you like them. For number 36 I already have a DIY post on how to make a fringe end bracelet so check it out. 

Tuesday, September 2, 2014

Fringe Thread Necklace

Hey guys! I know it's been a long time since posted anything up; I had creators block for while then I went on vacation for two weeks. It has been an interesting break. Now I am back with a new DIY for you how to make a fringe thread necklace super simple and cute for a fall necklace.

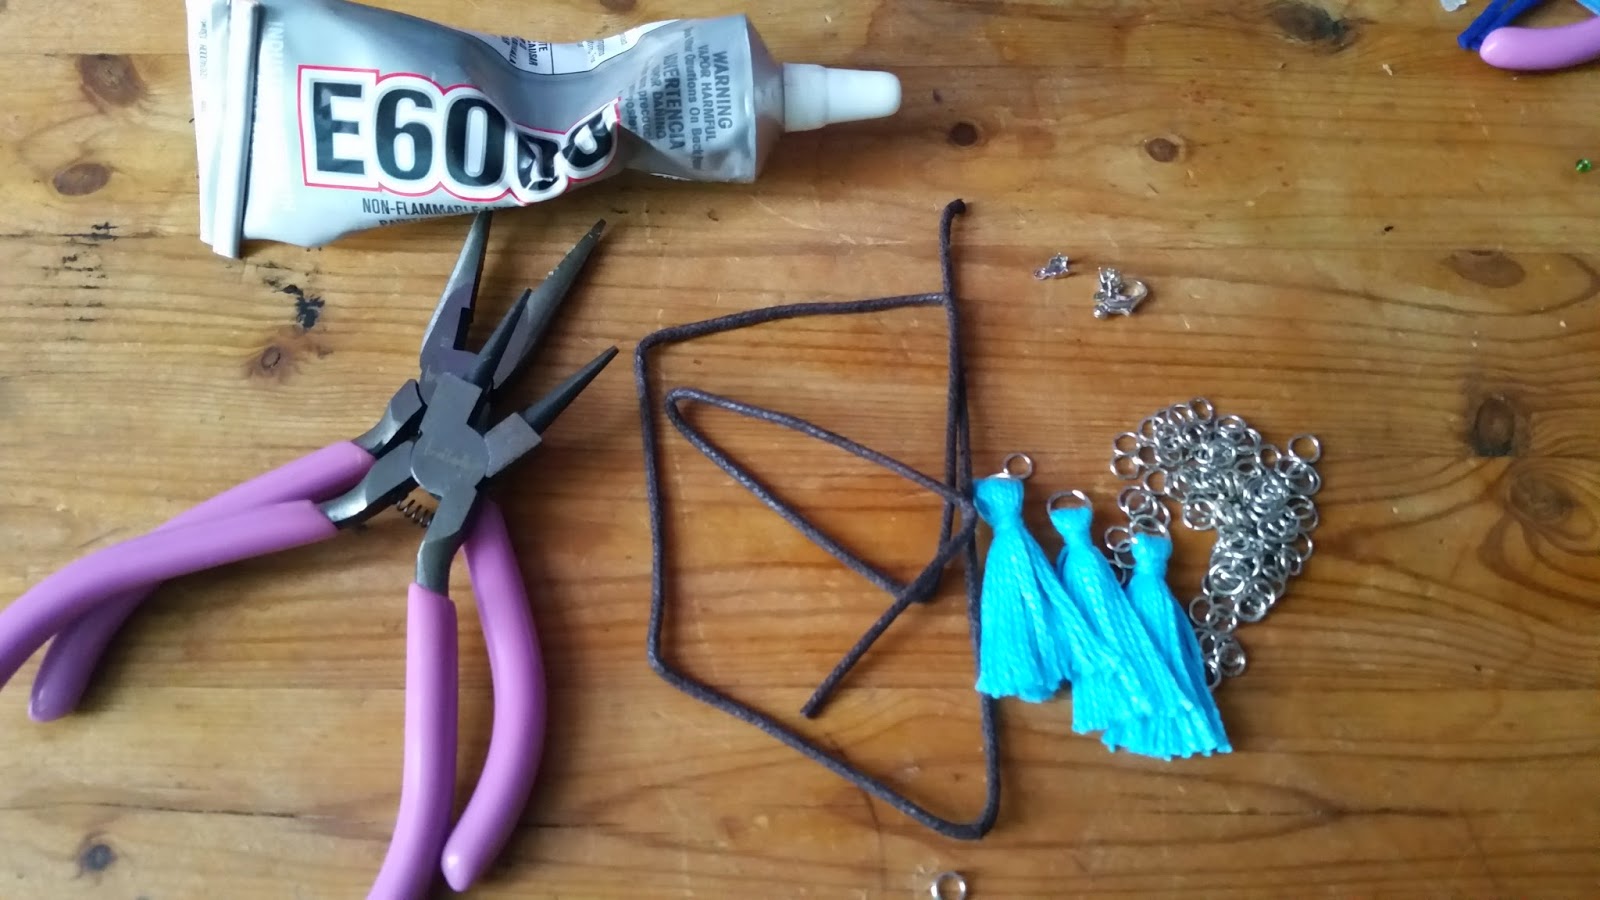
Materials:
  • Suede cord
  • Many jump rings (I mean a lot, the more you have the better)
  • Clasp
  • Floss or thread (any color)
  • Scissors
  • Pliers
  • Two cord ends
  • Glue (optional) 

*How to use jump rings* Holding the jump ring with two pairs of pliers. Open the ring by twisting it open. Then attach a chain or jewelry finding and reverse the action to close.

Step 1- Cut the suede cord to your desired length for the necklace.

Step 2- Attach one cord end to one end of suede cord. Insert the cord beneath the center plate. Then, using your pliers, press it firmly to the cord. (Tip: You can also place a drop of craft glue to secure it the cord end to the cord.)

Step 3- Cut a few pieces of thread about 8’’ long, enough to have a nice bunch. This will be used to make a fringe. You can make as many fringes as you would like. (I only use 3 for my necklace.)

Step 4- Loop the bunch of threads through the jump ring. Fold the threads in half; the jump ring should be in the middle top. Then use something to hold down the bunch. Using another piece of thread, tie the top of the bunch together. Now just cut the ends and adjust the length you want to be.

Step 5- Slide in as many jump rings as you would like into the suede cord and then add the fringe. Repeat this step until the fringes are spread out evenly in a matter you like.

Step 6- Insert the other cord end to the suede cord. (See step 4 for more instructions if needed.)

Step 7- Use pliers to twist open a jump ring and attach it to one cord end then twist and re-close it. Do the same to the other cord end, except this time add a clasp to the jump ring before re-closing it.

There you have it, simplest necklace Ever!  I hope you enjoy this DIY. Don't Forget to comment and send me pictures of the necklaces you make. (Sorry for the lack of pictures for this DIY I have lost the other pictures.)

Sunday, July 13, 2014

DIY Pop up Flower Necklace

Hey everyone!! The summer times is all about statement jewelry and something to give a pop a color. So  I have a new DIY for you, super easy to make pop up flower Necklace. Just follow the easy steps blow:

Materials:
  • Washer rings (It's a flat disk . If you don’t know what I am talking about ask your dad. I am sure your dad has some you can use)
  • Some larger jump rings and small ones
  • Three flower beads (mine are flat in the black)
  • Chain
  • Clasp
  • Wire cutters
  • Pliers
  • Glue
*how to use jump rings* Holding the jump ring with two pairs of pliers, twist the ring open. Then attach a chain or piece of jewelry and reverse the twist to close the ring.

Step one: Attach three washer rings together. Twist open one large jump ring to the washer rings and 
close it. Then attach a smaller one to that same jump ring. Repeat the same process again to attach two 
more washer rings. 

Step 2: Using your wire cutters cut two chain pieces to your desired length. I cut mine chain 12’’ inches long
each.

Step 3: Add one jump ring to the end of each chain and attach this to the jump ring on the sides of the 
washer rings. Once you've done this, attach another jump ring and clasps to the end of chain for easy opening and closing of the necklace.
1
2
Step 4: Glue the flower to the washer rings and let the glue dry.

Voila! Now you have a beautiful Flower Necklace!


Monday, June 23, 2014

DIY Warp Bracelet

Hey everyone!! I finally have a new DIY for you guys, Easy to make Warp bracelet.  It makes a super cute summer time bracelet. Lets get started:

Materials:
  • Rhinestone chain or ball chain
  • Round leather cord or flat leather/suede cord (Make sure it thick or wider this will be use as your bracelet base.)
  • Pliers and wire cutters
  • Two cord ends and jump rings
  • One clasp
  • Glue
  • Hemp cord, Embroidery thread, or flos

Step 1: Cut a piece of leather cord, or whatever material you are using, about 6 ½ inches long.  It is better to cut the thread shorter than your wrist because you will add finishes to the end of the bracelet. I am using a round leather cord piece I had left over from an old project. Use your wire cutters to cut the rhinestone chain. This could be any length you desire, measure it with the cord you are using as your bracelet base.

Step 2: Use a cord end to finish the leather cord.  Insert the cord beneath the center plate. Then using your pliers press it firmly to the cord. (Tip: you can also place a drop of craft glue to secure it the cord end to the cord.)

Step  3: Tie the hemp cord to leather cord and start wrapping it around. Once you’re a few centimeters in lay the rhinestone chain in place and start wrapping the hemp thread around the chain tightly. Continue wrapping the thread once around/ between each link. When you reach the end of the bracelet make a knot to secure it. (Tip: If you are using thinner thread you can wrap it multiple times around/between each chain.)
1
2

Step 4: Using your pliers to twist it open a jump ring and attach it to one cord end then twist the jump ring back to re-close it. Do the same to the other cord end, add a clasp when you open the jump ring and then re-close it.

This is only one design I did a tutorial for but there so many different way to make a warp bracelet. So get creative and design your own. Send me a picture of your designs.