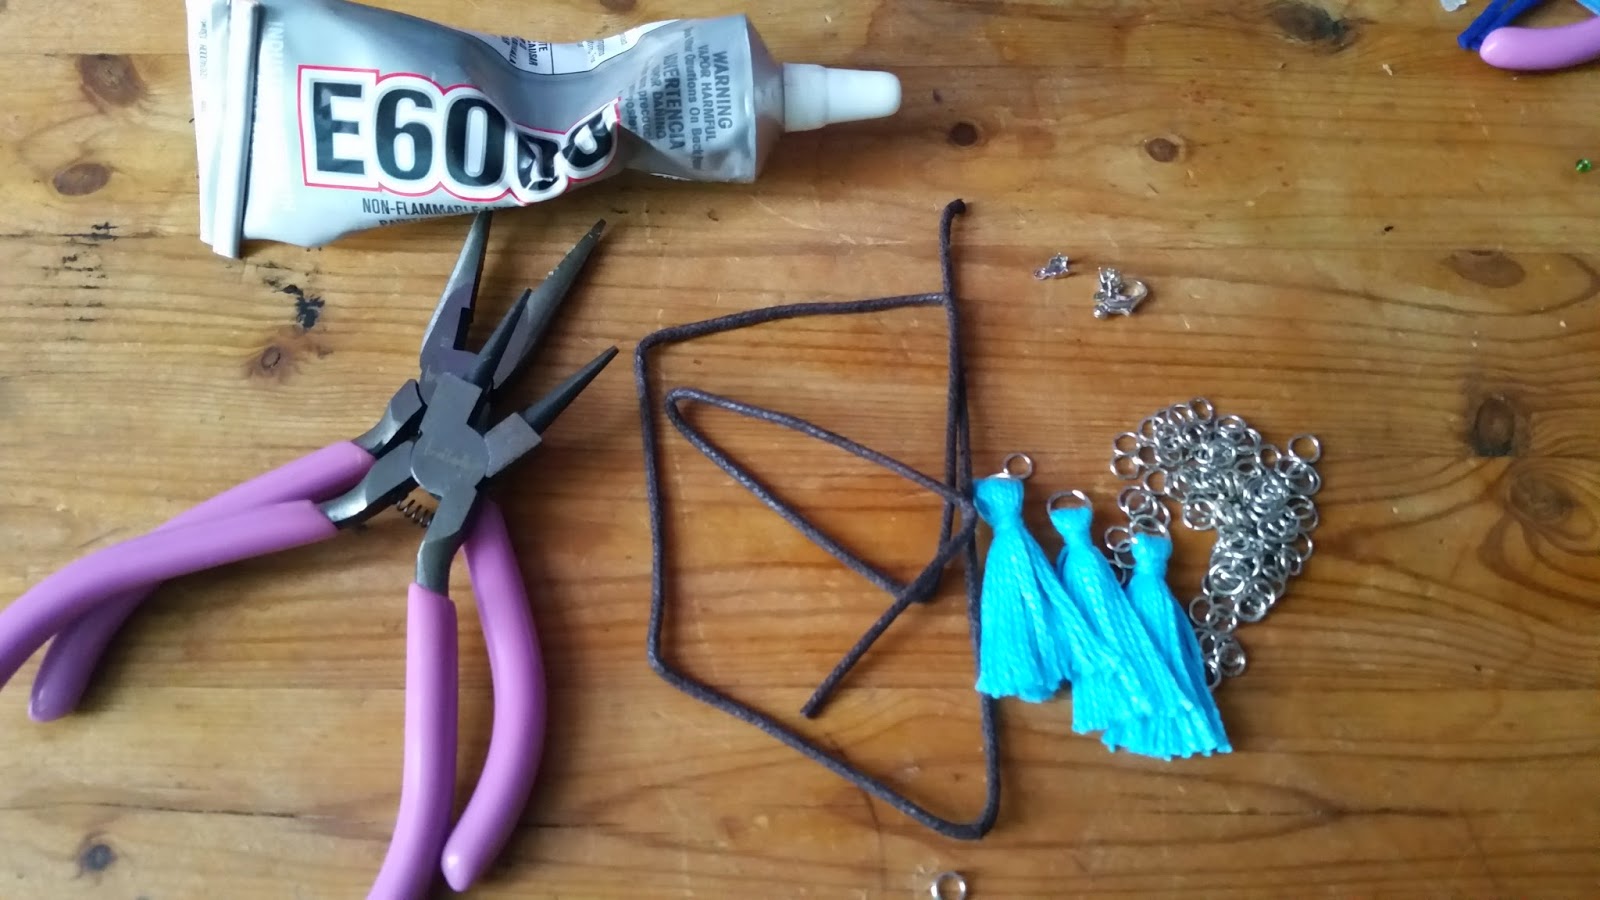
Hey guys! I know it's been a long time since posted anything up; I had creators block for while then I went on vacation for two weeks. It has been an interesting break. Now I am back with a new DIY for you how to make a fringe thread necklace super simple and cute for a fall necklace.
Materials:
- Suede cord
- Many jump rings (I mean a lot, the more you have the better)
- Clasp
- Floss or thread (any color)
- Scissors
- Pliers
- Two cord ends
- Glue (optional)
*How to use jump rings* Holding the jump ring with two pairs of pliers. Open the ring by twisting it open. Then attach a chain or jewelry finding and reverse the action to close.
Step 1- Cut the suede cord to your desired length for the necklace.
Step 2- Attach one cord end to one end of suede cord. Insert the cord beneath the center plate. Then, using your pliers, press it firmly to the cord. (Tip: You can also place a drop of craft glue to secure it the cord end to the cord.)
Step 3- Cut a few pieces of thread about 8’’ long, enough to have a nice bunch. This will be used to make a fringe. You can make as many fringes as you would like. (I only use 3 for my necklace.)
Step 4- Loop the bunch of threads through the jump ring. Fold the threads in half; the jump ring should be in the middle top. Then use something to hold down the bunch. Using another piece of thread, tie the top of the bunch together. Now just cut the ends and adjust the length you want to be.
Step 5- Slide in as many jump rings as you would like into the suede cord and then add the fringe. Repeat this step until the fringes are spread out evenly in a matter you like.

Step 6- Insert the other cord end to the suede cord. (See step 4 for more instructions if needed.)
Step 7- Use pliers to twist open a jump ring and attach it to one cord end then twist and re-close it. Do the same to the other cord end, except this time add a clasp to the jump ring before re-closing it.
There you have it, simplest necklace Ever! I hope you enjoy this DIY. Don't Forget to comment and send me pictures of the necklaces you make. (Sorry for the lack of pictures for this DIY I have lost the other pictures.)


