Pages

Monday, March 31, 2014

Quotes!!!

Hello hello everyone! I love quotes, so included,quotes of the day side bar note on my blog. Here is a list of the past month's quotes of day. As you can tell the list is pretty short, quote of the day is more like the weekly quote. I will try to update the quotes more frequently this month and at the end of each month I will make a list so you can see them all. I have a few ideas in mind on how to incorporate these quotes in a DIY, so that project will be coming up soon. And on a side note I updated some previous post just add some helpful links, so check that out. 


Pasted Quotes:
"Your hopes have become my burden. I will find my own liberation." –Unknown

"Expect the unexpected."

"Every artist was first an amateur"- anonymous

"As human beings, our greatness lies not so much in being able to remake the world – that is the myth of the atomic age – as in being able to remake ourselves." ― Mahatma Gandhi

"A journey of a thousand miles must begin with a single step." –Lao Tuzr

"Life is either a daring adventure or nothing to keep our faces toward change and behave like free sprities in the presence of fate is strength undefeatable." –Helen Keller

"Be not afarid of greatness "-William Shakespeare

"Everybody is a genius. But if you judge a fish by its ability to climb a tree, it will live its whole life believing that it is stupid." ― Albert Einstein

"The heart has its reasons, which reason knows nothing of "– Blaise Pascal

"everyone is entitled to their own sorrow, for the heart has no metrics or form of measure. and all of it... irreplaceable.” - unknown


Tuesday, March 25, 2014

DIY Card Holder

For a city girl like me I need a small card holder so I can carry my metro card for quick access. Or to carry any other cards I use a lot. So I came up with an idea to use an old box to make this card holder. You should use the card you are planning on putting in the card holder for measuring the card board needed to cut, and then add about ¼ of an inch to that for the measurements of your card hold. Or you can use my measurements ( I think they are about average)

Materials:
Pencil
Ruler
Expressions masking tape
Card broad (use an old cereal or cracker box)
Mod Podge
Stickers/ rhinestone stickers
 
Step 1: I used an old crackers box. Where you see the crease/fold of the box measure 2 ½ inches outward and draw a line, do the same on the other side. Then measure 3 ¾ inches for the length and draw the line. You should have a square as it is shown in the picture below. Once complete you can cut the square out.

 
Step 2: Cover one side of the cut out with the Expressions tape. Over lap the tape if you have to. (I had to cover mine twice.) Turn the card to the other side and use a strip of tape to cover the excess tape there.


Step 3: Use a strip of tape to put together both sides and do the same as below. 


 Step 4: Now you have a card holder.  I use mod podge to ensure the tape would stay down, but it is optional.  You can decorate it any way you want. I used gitter tape and rhinestone stickers. 

Monday, March 24, 2014

Braided Charm Bracelet DIY


Who doesn't love a charm bracelet? So one afternoon I was thinking of what to do with the satin cord I just brought, then a light bulb turn on in my head and came the idea to make bracelet. So that is how I got the idea for this DIY. 

This is a super easy braided charm bracelet to make. Just follow the simple steps blow:

Materials:


  • Satin Rattail cord (any color)
  • Pliers
  • Jump Rings
  • Charms 
  • One Clasp
  • Clip broad   


Step 1: Cut 3 strands of cord about 12 inches long then make a knot at one end. Use a clip broad to hold on to the knotted end so you can braid the cord. When you finish that make another knot at end.


Step 2: Using your pliers twist open one jump-ring and add it to one knotted end of the cord. Then twist it back to close the jump-ring. Repeat the same process and add the other jump-ring with a clasp at the other end of the cord. Now you have the bracelet. (How to use Jump Rings)

Step 3: Using the pliers twist open one jump-ring and attach it to the bracelet. Add a charm before closing the jump-ring. Repeat the same process to add as many charms as desired. :)


There you have it super easy braided Charm Bracelet. I made mine nautical theme.


Wednesday, March 19, 2014

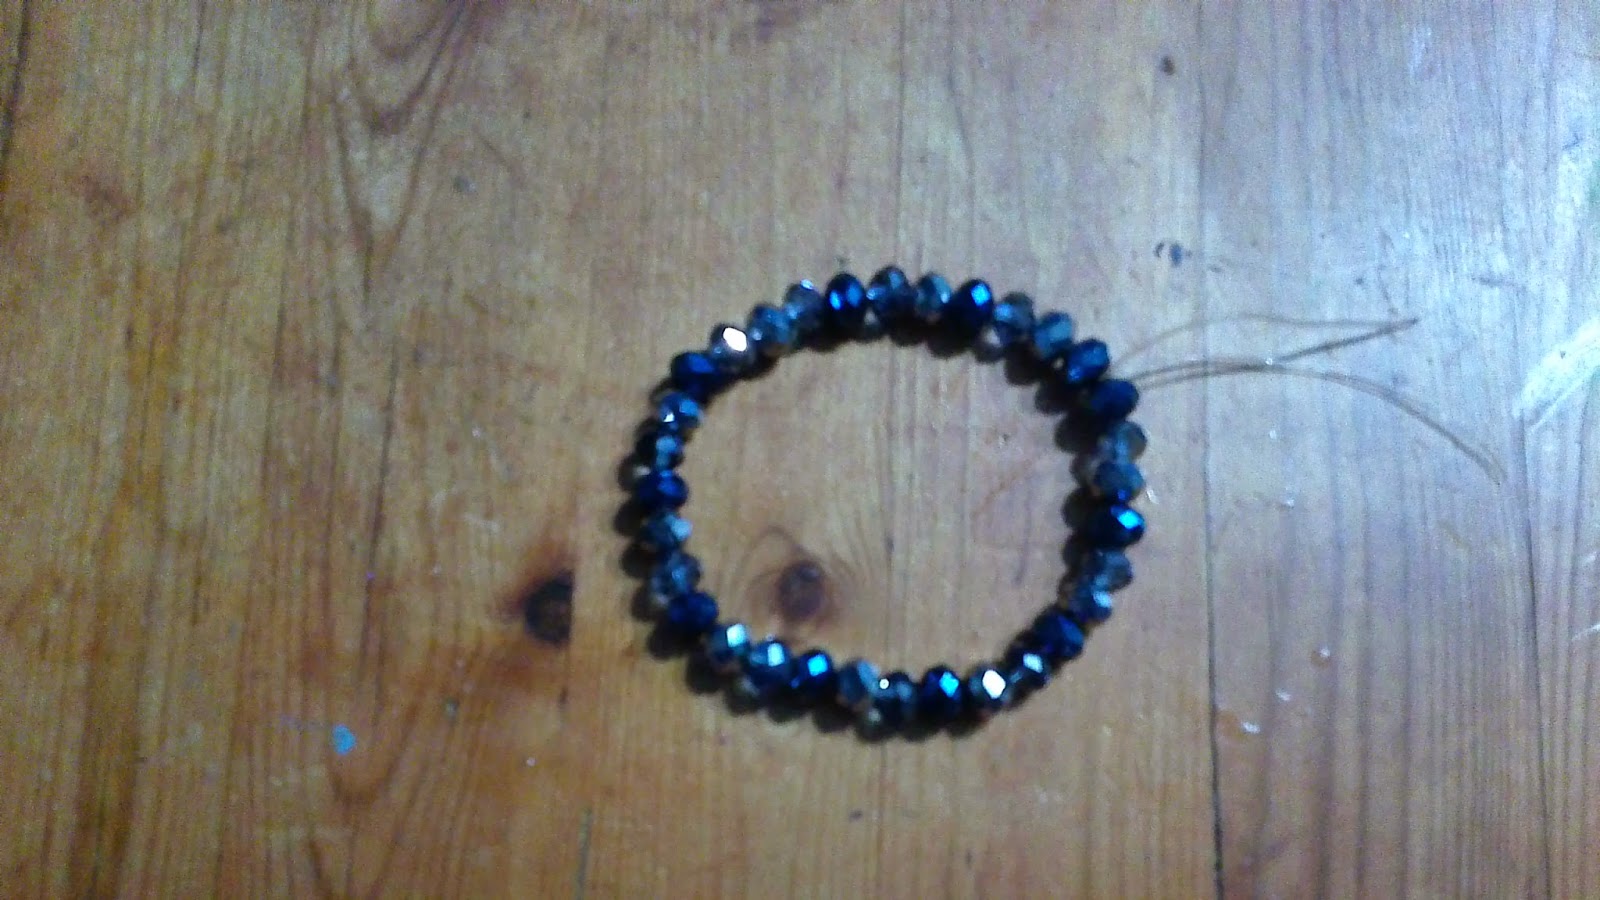
Basic Bead Bracelets

Bead bracelets are a a good place to start jewelry making for beginners because they are simple and easy to make. You can use whatever beads you have in hand or recycle an old bead bracelet, use the beads to make a brand new one.

Materials:
Beads (any color shape or size)
Spacer beads (any color shape or size)
Jewelry Beading Thread (elastic tread)
Ruler or measuring tape

Beads                                                                             Spacer Beads


Step 1: String along some beads in thread till you have the length of about 7 or 7 ½ inches. (Average wrist size)
If you want to make the bracelet base on your wrist size check out my measurement chart post on instructions on how to figure out your bracelet size.


Optional when you’re stringing the beads along you can also add spacer beads in between the regular beads just to give the bracelet a little more bling and pattern to it.

Step 2: Cut the thread and leave enough so you can tie the thread together. Afterward cut the excess thread. 

There you have it a super easy bracelet. The fun thing about this you can design the bracelet however you want to express yourself.  


Sunday, March 16, 2014

<a href="http://www.bloglovin.com/blog/11854723/?claim=bnmhd72s7yv">Follow my blog with Bloglovin</a>

Saturday, March 15, 2014

Friendly Tip 2: Ideas

So I have been surfing the web looking for ideas, and I am having an idea overload. There are so many things to make and so little time. I am amazed on how creative people are, they have inspired me. I have been looking jewelry DIYs and I got some great ideas for upcoming projects. I especially love these websites that I will list below; they have some great DIY's for jewelry. I couldn't do it better even if I tried, the DIYs are awesome, so check them out. I am sure you would like to try out some DIY's for youself, I know I will.

Websites:
Create.Cousin.com- This website to super useful for instruction on basic jewelry techniques and their products are available at Walmart. I use a lot of their products they are really cheap and good quality.


Wednesday, March 12, 2014

Dreamcatcher DIY

So I finally got a chance to do a tutorial on making a dream catcher. I personally love dream catchers. I make them all the time and  just give them away. They are easy and simple to make just it takes a little time. Dreamcatchers make a great decorative piece for anywhere in your home. According to Native American folklore dream catchers capture bad dreams in their web. So a good place to hang one would be right above your bed. In this tutorial I will be using an old bangle as the base of the dreamcatcher. The process of making a dreamcatchers is fairly the same just depends on the size of the ring you are using. 

Materials:


  • one ring (Embroidery hoop, bangles, key hoop any round ring would do.)
  • yarn (ribbon, leather cord, twine, or whatever you have in hand.)
  • Thread/ floss
  • Feathers 
  • Beads
  • Crazy glue ( I use this on everything!)


Step 1: Make a knot anywhere on the ring, then warp the yarn around the whole ring.

Step 2: When you finish warping the yarn around ring make a knot at the end to secure it. Then using the same yarn you have, make a loop long enough to hang it from and tie it at the bottom as shown in the picture:


Step 3: Tie the thread near to where you made the loop and start to warp the thread as shown in the picture to make the web. 


You can also add beads to the web.

Step 4: Add beads and feathers. Cut off three or more pieces of thread long enough so you can add beads and feathers and tie it to the dreamcatcher. You can arrange the thread anyway you want blow I show two options.
Once you have added the beads. Place a feather into last bead at the end of the thread, as shown in the picture blow. Then warp the excess thread around the feather and make a knot to secure it.

There you have it, nice and simple! Hopefully you will sleep better once you make a dreamcatcher. 


Made from an Embroidery hoop                           Made from a key hoop 


Sunday, March 9, 2014

Friendly Tip: Jewelry Measurement Charts


When your making jewelry its all about sizes. So I am sharing some measurement charts for bracelets and bangles. And a necklace length chart. Soon I will post jewelry DIY's. (*General jewelry making knowledge*)


Monday, March 3, 2014

DIY- Altoids Tin Compact Mirror

Turn your Altoids Multi-Purpose Case into a compact mirror :)

Materials:

  • Altoids tin
  • nail polish
  • hot water
  • bowl
  • small mirror about L 1 3/4" and W 2 3/4" (size of the mirror I used) or any mirror smaller than these measurements
  • Crazy glue or hot glue gun


I brought a compact mirror in the 99 cent stores that I thought would fit inside the Altoids tin. Your mirror does not have to be the same size but make sure it will fit inside the Altoids tin.

Step 1: Removing the mirror. In a bowl add hot water and put in your compact mirror face down. The heat will loosen the mirror and it should eventually fall off. Then take the mirror out and dry it off.


Step 2: *Optional* I use nail polish to paint a border line for the mirror so it could have a pop of color. You can use any color nail polish or paint if you want to do this.


Step 3: Glue the mirror inside the tin. 


Voila!! Now you have a great compact to carry your lip gloss. 


DIY- Altoids Tin Multi-Purpose Case

Recycle your Altoids mints case by turning it into a multi-purpose case. This how to do it:


Materials:
  • Empty Altoids tin
  • Mod Podge
  • Salt
  • Paint brush 
  • Metallic spray paint


Step 1: Mix a bit of mod podge and salt in a small container and brush it on top of the logo. This will cover up the logo and make it even. Then let it dry.


Step 2: Once it dries off. Spray paint the front and the back. Let it dry.

Nice and simple to make! Now you have a cute multi-purpose case. It a great little case to put in all the little stuff you carry around in your bag and it can be a great card holder also. 


Saturday, March 1, 2014

Shopping Tips

All crafters need supplies. So I made a list of few place I like to do my shopping and I recommend:


* Michael's Art Supplies it could be a bit pricey there so I suggest Amazon. com instead. 

* Your local 99 cent store and thrift store, great place to find supplies and tools for small projects. 

* Walmart. I don't know if all Walmart's have this but the one I go to has an area where they sell fabrics and have a jewelry and crafts supplies aisles. Its awesome!! so you check it out.  

* Targets dollar area. You all probably walk right by it without looking at it when you enter Target. Well your miss out!! because you can find really cute stuff there for cheap; from holiday decorations, little kids toys and crafts, ribbons, cute stationery and notepad. If your a crafter you have check this out next time your at  Target.
  
* Esty.com of course is great place to buy supplies and sell your creations. (cheap beads)